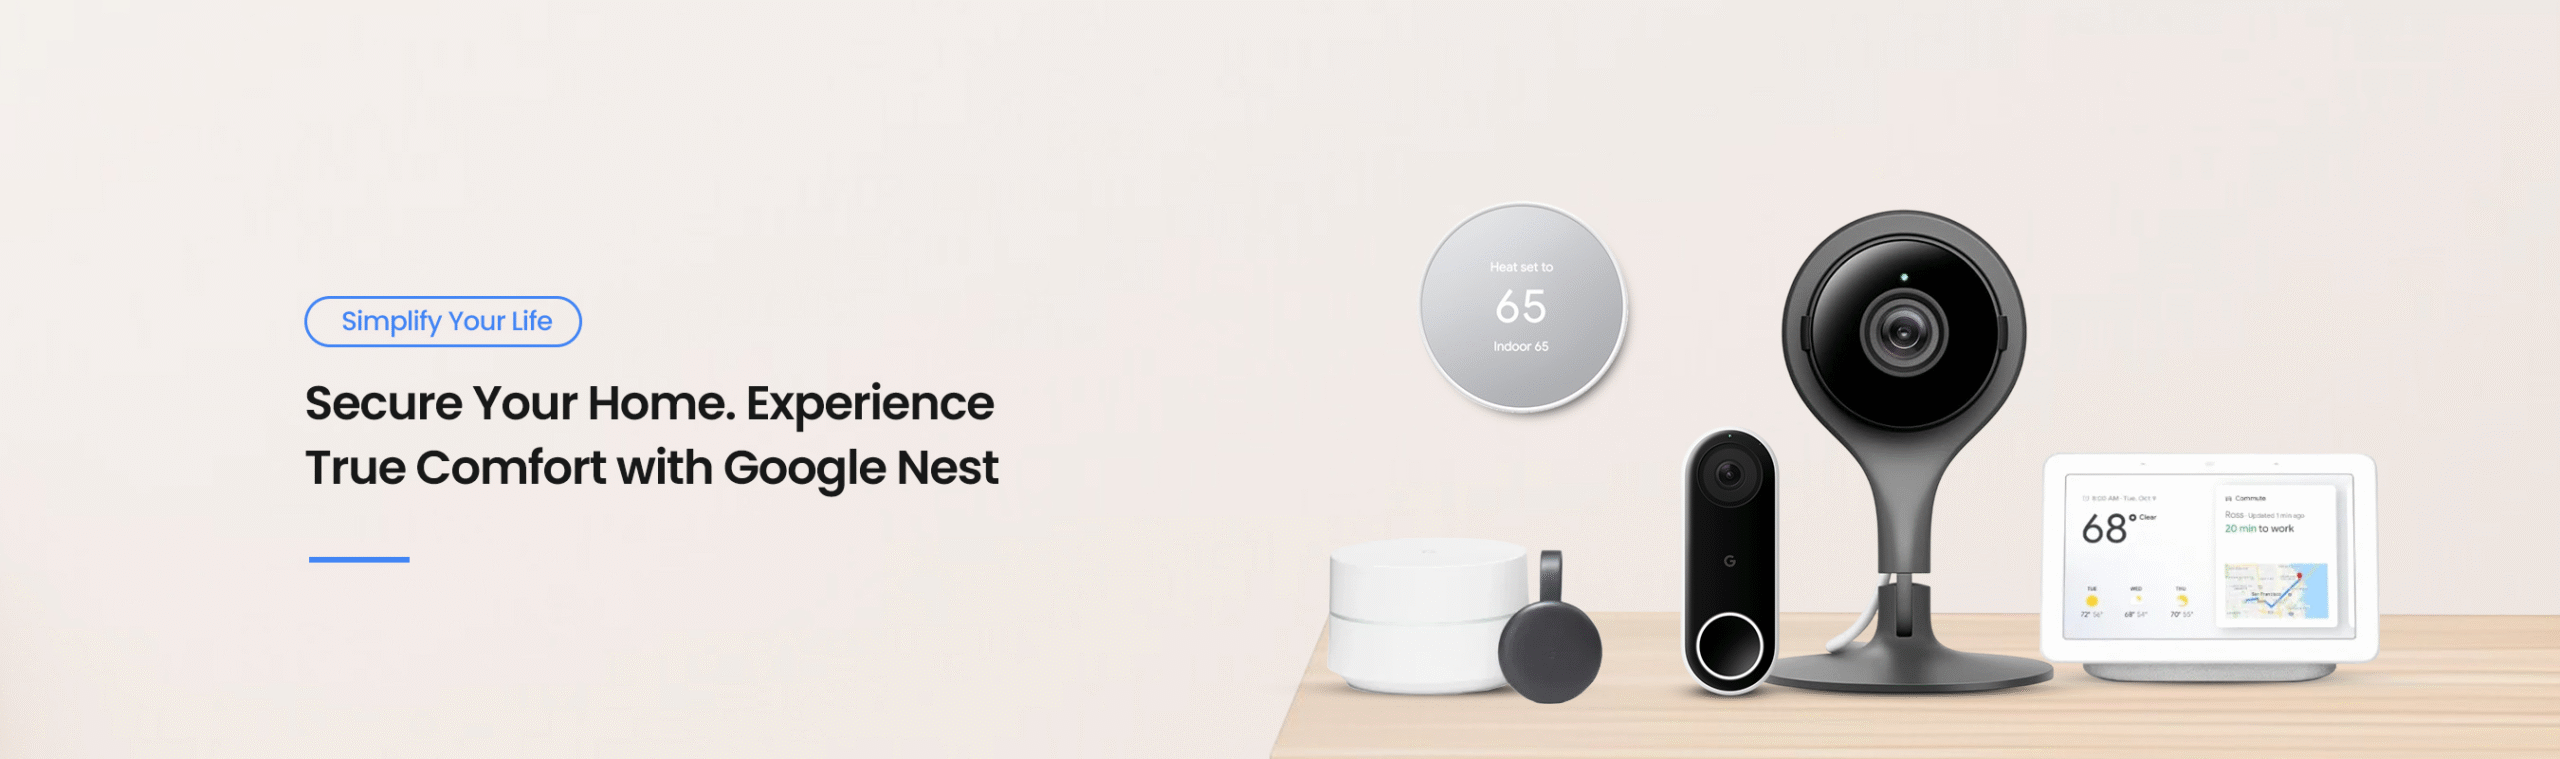
Google Nest Camera Setup Process Learn how to setup Google Nest Cameras with Ease
Google nest cameras are among the most advanced and capable WiFi enabled surveillance devices available on the market today. The cameras are easy to set up and configure using the Google Home App which can be downloaded and installed on your Android and iOS devices alike. If you have recently purchased a new Google Nest Setup and are looking for help in setting things up, this website is the right place for you. We’ll discuss the steps to install the Nest Cam Indoor and the Cam IQ outdoor and steps to resolve any issues that may arise.
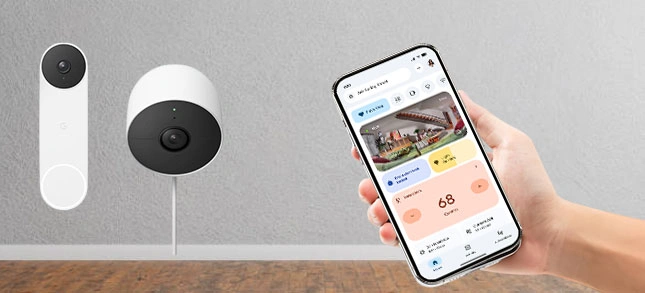
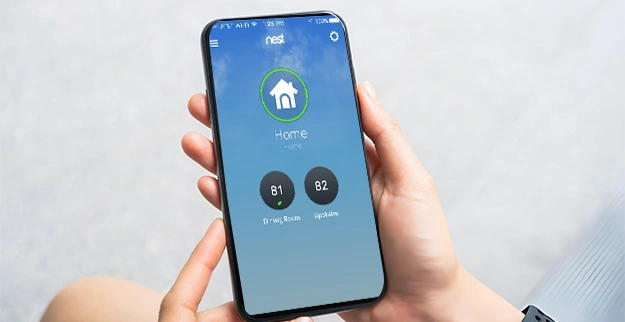
Google Home/Nest App
Google Nest camera setup can be done using the Nest App or the Google Home App. You can download the app from the Google Play Store or Apple App Store depending upon the device you use. Once downloaded, the app will walk you through the camera setup process steps. Please note that the app can only help you as long as you are connected to the camera and the smartphone with the app using the same WiFi network. Once connected, use the app to guide you through the setup and installation process.
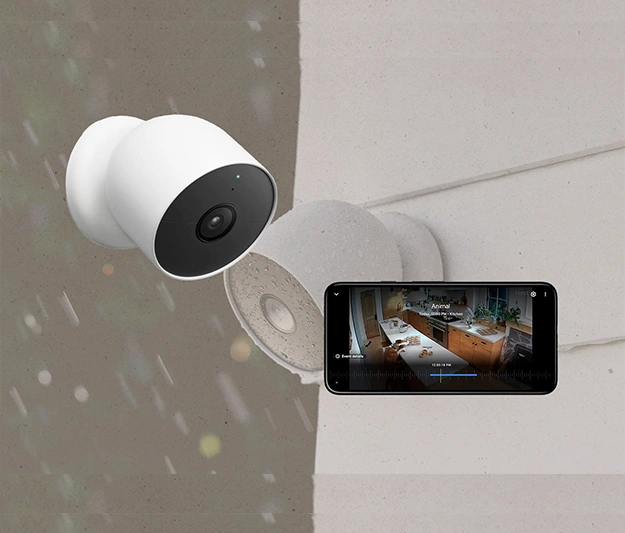
Features of Google Nest Cameras
Nest cameras(both indoor and outdoor) come loaded with a host of features including person detection, motion detection, Nest Aware subscription, continuous video recording, and more. These features may depend upon the type of subscription you have and the camera model you own. For details on the features which your Google Nest Indoor Camera has, you can always go through the product manual and Quick Start Guide that arrives with the device.
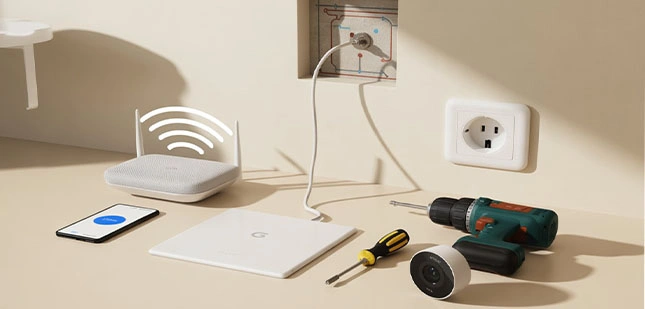
Things you will need for Google Com Nest Setup
To start with your Google Nest cam setup you’ll require some basic items. They include:
- WiFi and a functioning internet connection
- A smartphone that has an updated OS
- Nest Account
- Operational Power Outlet
- A screwdriver or Drilling Power Drill
If there isn’t a power outlet outside it is possible to plug your camera into one of the outlets inside. This may require additional steps, such as drilling into the wall. It is important to map out the pipes in the wall and electric wiring. This will assist in installing the Nest Outdoor camera in a simple way.
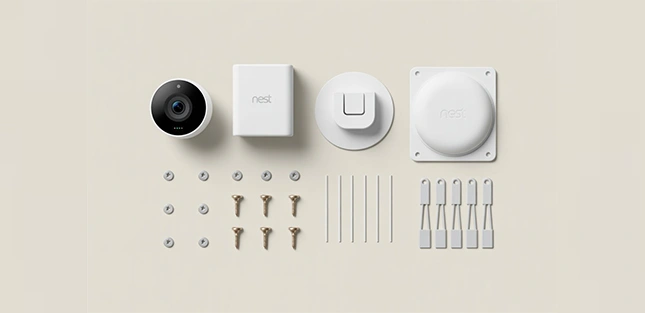
Preparing for the Nest Outdoor Camera Setup
Before starting the set-up, make sure you have the following equipment included in your kit:
- Nest Outdoor Camera
- Power Adapter
- Mounting Magnet
- Camera Wall Plate
- Adapter Wall Plate
- Wall Screws and Anchors(12 Nos)
- Cable Clips(9 Nos)
When you have these items in your possession, you are able to begin Installing Nest Outdoor Camera easily.
Starting with the Google Nest Cam Setup Process
Learning how to setup google nest camera is the first step towards monitoring your space. However, before you begin, you need to ensure that you have everything you will need for the setup process:
- Your Google Nest Camera
- 2.4GHz and 5GHz WiFi Connection
- A Compatible Smartphone or Mobile Device
- Magnetic Wall Mount
- Latest version of the Google Home App installed on your smartphone
Since the setup process will involve scanning the QR code on the back or bottom of the camera, ensure that you connect your camera to the app before you install it. Once done, you can begin with the following steps for setup:
- On your Google Home App, you will be asked to specify which product you wish to add. Make sure you select the correct model of your Google Nest Cam.
- Ensure that your device complies with all the safety guidelines when installing the camera. You should be well aware of all in-wall pipes and electrical wires running through the house before you start drilling for the mount.
- Do not remove the lens sticker until the setup process is complete. This step helps keep the lens protected from dust and smudge. Once you have completed the Google Nest Camera Setup, you can remove this sticker.
- Plan the cable route well, starting from the indoor outlet to the point where you will install the camera. Find a good location outside which is high enough for the camera and safe enough for installation.
Mounting the Nest Camera
- When installing, hold the camera up where you want to install it and verify the video stream to see if it is covering the area you want to monitor. Adjust as per your need and mark the location to install the mount. Also check the WiFi signal coverage at this point. If the WiFi speed is slow or the network strength is weak, you’ll need to find another location and repeat these steps until a better connectivity is established.
- If you wish to continue installing the camera at this location, you can also use a WiFi extender to help cover the area with internet connectivity.
- Once you have finalized where you wish to install the camera, you can fix the mount to the location. Once done, begin by fixing the wall plate onto the wall with screws and a screwdriver or power drill. Mark the locations to drill pilot holes to facilitate installation. If you’re building brick walls and you want to use wall anchors to secure the screws. Then, fix the wall plate by using screws and ensure it is secure.
- After that, put the magnet on the wall.
- If you happen to have a metal surface near the place where you’ll be installing the Nest Outdoor camera You can bypass mounting the wall plate and stick the magnet on your surface straight.
- Then, place the Nest Outdoor Camera on the mount magnetic and set it to your liking. You can utilize the video stream within the Nest App to change the angle and position of the camera.
Installing the Power Adapter
- The next step in google nest setup is installing your power adapter. However, before doing that it is advisable to determine the path that the power cord will travel. Be sure to leave some slack between the two ends. Consider installing an adapter that is weatherproof about 18 inches above the surface to protect against damage caused by snow and flooding.
- The next step is to place your adapter's wall mount to the wall with the flat side that is flush. Then, fix the power adapter into the correct position.
- Attach your cable onto the wall with the clips provided in the box. You can route the cable around a ledge, or paint it in the same color as the wall's color. Be sure to keep the cable loose, in case you want to alter the angle of your camera in the future.
This step marks the end of Google Nest Camera installation.
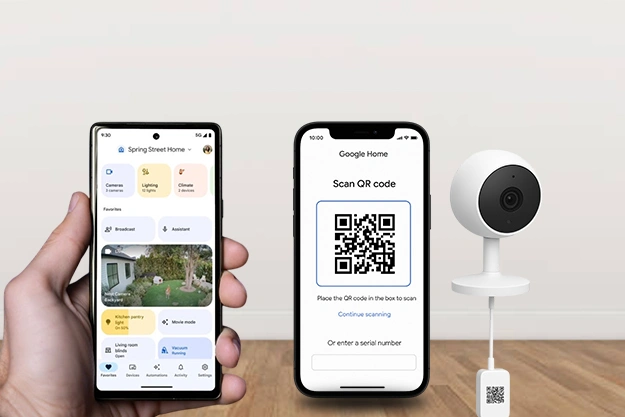
Adding Nest Cam to the Google Home App
- Open the Google Home App on your smartphone that’s connected to the same WiFi network as your Nest camera.
- It is the app that will prompt users to look up their Google Nest Cam’s QR code with their tablet or phone. The QR code is located on the reverse (Indoor) or the underside (Outdoor) of the Nest Cam.
- Place the QR code into the blue box, and the app will capture it. It’s not necessary to change to use your tablet’s or phone’s camera app.
- Connect your camera using the supplied USB power adapter, then enter the serial number.
- If the QR code isn’t working, If your device or smartphone has trouble scanning the QR code simply tap Continue scanning without stopping.
- You then have to enter the serial number of the camera in place of scanning QR codes. You will find the serial number with 12 numbers located on the reverse of your camera right next to the QR code.
- Connect your camera using the supplied USB power adapter prior to entering the serial number.
Google Nest WiFi Setup
- Before moving on to the next stage, be sure you've got the Wi-Fi password handy and that the camera's power cable is in a position to connect to the power outlet. On your Nest app, click Next to proceed.
- Select a name for the camera that corresponds to where the camera will be located. Choose the pre-set location, or create an individual location by choosing Custom at the end.
- The Google Nest setup app will utilize the location you specify to notify you when the alerts are occurring and also place your devices into the app.
Wired Connections
- Make use of the charger and power cord for plugging the camera to a standard power outlet.
Please note that if you typed the serial number of your Google Nest Camera then your camera should already be connected. Once your camera has been connected, its LED will change to blue to indicate that it is powered. Within your Google Home app, select next to proceed.
Wireless WiFi Connections
Your Nest camera setup will look for Wi-Fi networks that are nearby automatically. Just wait for a second until the Wi-Fi network list is displayed before you select the Wi-Fi connection you’d prefer to have your camera use. It may be necessary to enter your Wi-Fi password. Be certain to join only a network that you can trust. It might take a time to connect to the Wi-Fi network you have chosen.
Verify the video stream on your camera
Once you have connected your device to the Wi-Fi the app will verify that the camera is able to stream video.
After the camera has been set up, the Google Home app will allow you to decide if you’d like to receive alerts about the camera’s activity. Tap on Yes, or Allow and you’ll start receiving alerts whenever an activity takes place in the covered area.
Troubleshooting General Issues with Google Nest Cam Setup
Just like every other IoT device, Google Nest cameras can also come up with issues including:
- Video Streaming or Playback issues
- Camera goes offline or WiFi connection issues
- Error Code in the App
Video Streaming and Playback Issues
Oftentimes, you may find a delay in the live video stream and what’s actually happening on the location. A slight delay is normal and expected, however, abnormally long delays are not and will require troubleshooting:
- Close the open apps on your device. This may include the Google Home App or the Nest App as well. A number of apps running simultaneously can slow down the network and overall performance as well.
- If the delay is for 10 seconds or more, go back to the app’s home screen and tap on the camera again to refresh the connection.
- Try closing and opening the Nest App. If that doesn’t help, you can try restarting the phone or device you’re watching the live stream with.
- If you are connected to a WiFi extender, it can add an extra relay time to the device that’s connected. Try connecting your phone directly to the router’s network to help reduce the delay in the video.
- The video can also be delayed due to a slow internet connection. You can try restarting your WiFi router to see if that helps fix the issue.
Camera Goes Offline/WiFi Connection Issues
If you are unable to add your Nest cam to your account, or the existing devices you have added are showing offline in the app, it means they are having trouble receiving the network signals. You will need to troubleshoot in person to get the network back online.
Error Codes in the Google Home App
If there is a problem when setting up your camera or doorbell, the Nest App will show you a message and an alphanumeric code. You can use the official guide on the error codes and how to proceed about resolving related issues.
- If you see an error message but don’t see an error code, you can try closing the app, restarting your camera and make sure that the phone’s WiFi and Bluetooth are turned on. Also, see if it is connected to the same WiFi network that the smartphone is.
- Try to setup Google Nest Camera again in the app.
- See if the code appears or not. If you still can’t set up your camera and you face issues with using the same, contact the experts at our end for help.
Have Questions on the Google Nest Camera Setup Process?
Reach out to the support team at our end, today!
FAQs
Can my Nest camera work while it is unplugged?
Nest cameras require a stable power connection 24/7 in order to work. If the power cable is cut or is damaged, you’ll receive a notification on your Google Home app about the power loss. You can then change the wire. This is when the camera will start working and recording again.
How are Nest IQ cameras different from a standard Google Nest camera?
Google Nest IQ cameras have some premium features like facial recognition, person alerts and cloud storage, etc. Whereas, the standard Google Nest Setups arrive with no such features. You can, however, purchase them using an extra subscription.
Where should I put my Nest Camera?
Nest cameras can be installed both indoor and outdoors. When installing indoors, you can use a location that is out of reach for children and pets. On the other hand, when installing the camera outdoors, you’ll need to find a concealed location where it cannot be detected easily. Also, this location should have adequate wireless internet coverage so the camera can record without any interruption.
My Nest Camera won’t connect to my home WiFi. What should I do?
It is possible that the network strength at the location you are trying to install the camera is weak. Try moving the camera closer to the main router. This will ensure that the camera can access the network easily and connect to it without trouble. If installing the camera closer to the router isn’t possible, you can try adding a WiFi extender to the network. Once done, you can connect the Nest camera to the extender network. This will ensure that the camera is connected to the WiFi network at all times and functions correctly.