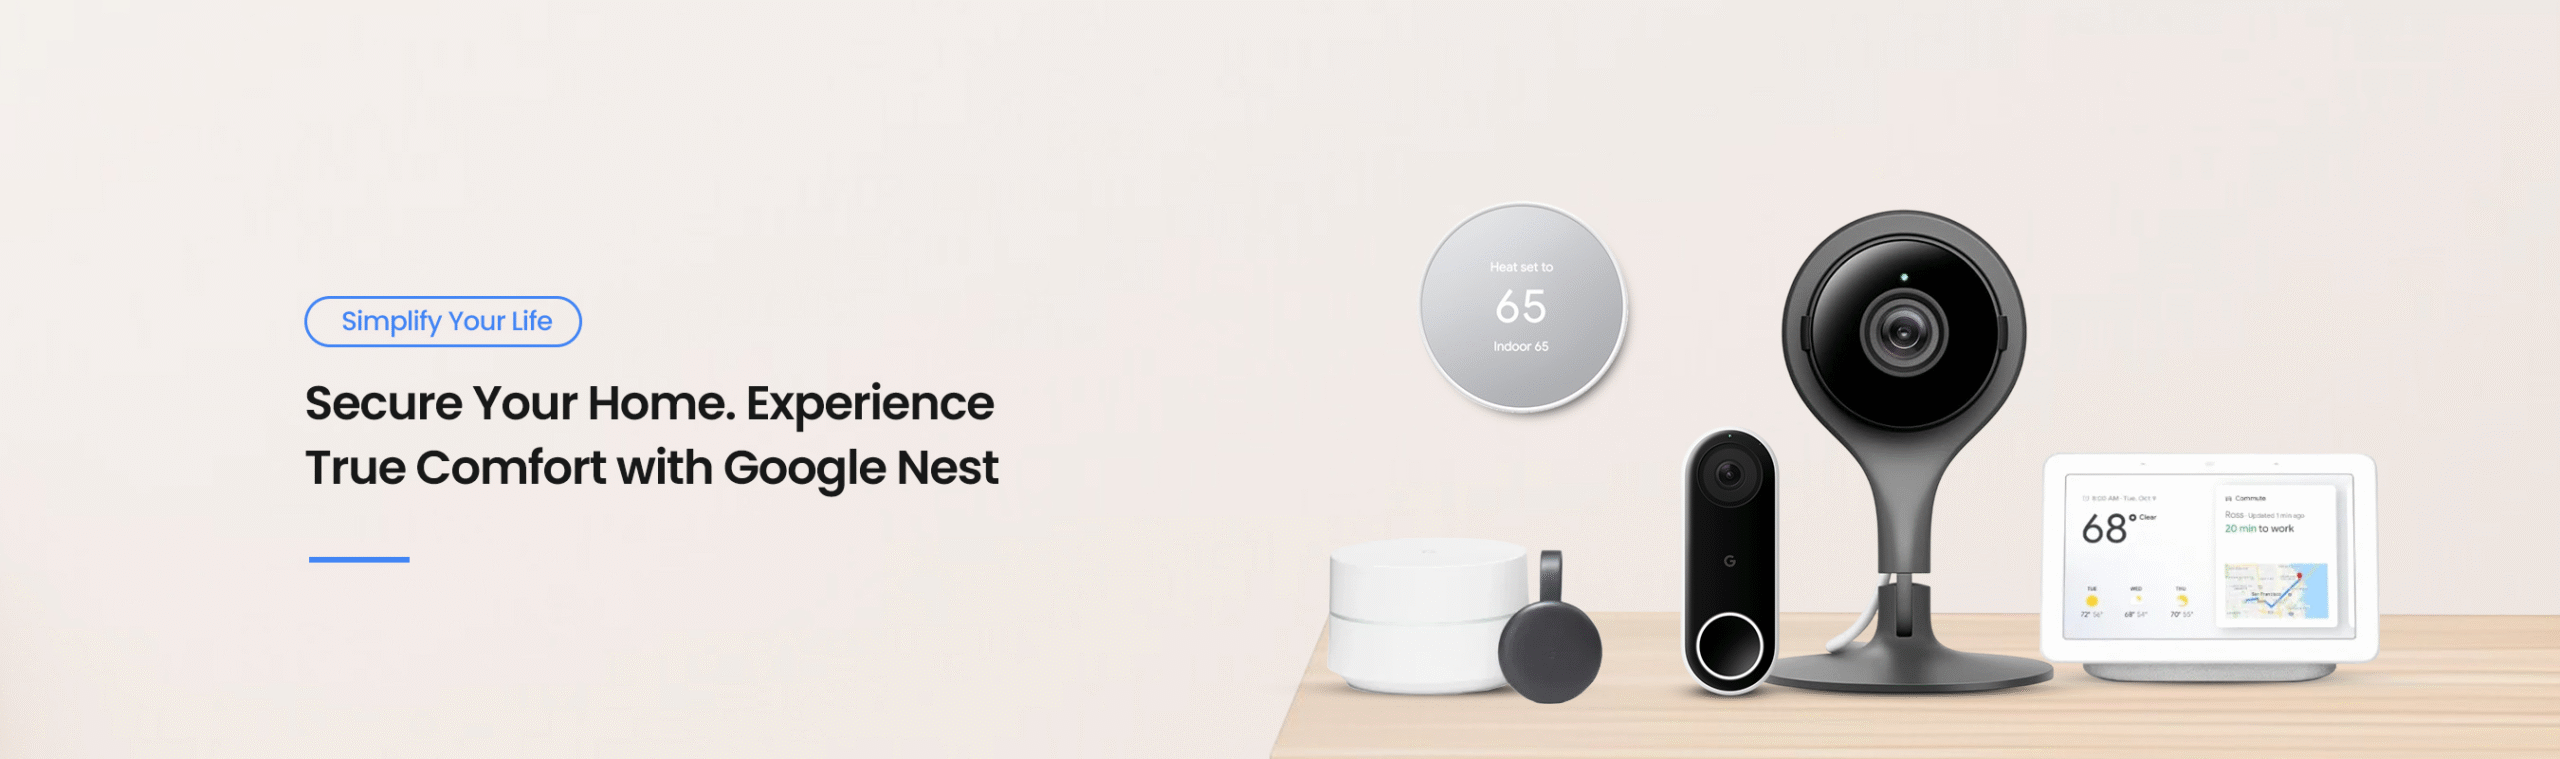
Google Nest Doorbell Setup & Installation Guide
Installing a smart doorbell like the Google Nest Doorbell need not be a hassle. Whether your goal is to upgrade your home security or you simply want the convenience of seeing who is at your main door from remote channels, Google Nest doorbell installation is simple and can be completed using the Google Home App.
From scanning the QR code to connecting the wired models safely, this app makes setting up the doorbell easier and convenient for users. This page is dedicated to helping users like you, who are looking for information on how to setup Google Nest doorbell at your home.
TL;DR (How to Install Google Nest Doorbell)
To setup your Google Nest Wired Doorbell, you can use the Google Home App. Use this app to create an account and tap on the ‘+’ icon to add your doorbell. Follow the app instructions to add the Google Nest Camera Doorbell. The app might ask you to scan the QR code using the scanner in the app.
For wired models, you’ll need to turn off the power at the breakers before you make connections. The Google Home app will guide you through the WiFi Setup and Installation process as well. You can connect to your home’s WiFi network and follow the step-by-step instructions provided by the app to complete the setup process.
Getting Started With the Google Nest Doorbell Installation Process
Though we always recommend consulting experts for installing Google Nest Doorbell devices, if you are a fan of DIY projects, the following information will come in handy:
For Wired Models
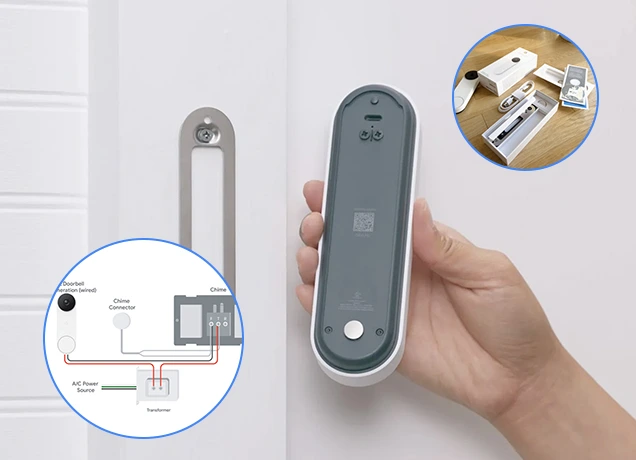
The first thing to do before you start with the installation and setup process is checking the compatibility of your doorbell with your existing home setup. The wiring setup in particular needs to be compatible. Once you have ensured it is, you can follow the steps in the app to install the chime connector puck inside the chime box.
This is when you can take out your Google Nest doorbell and install it.
- Once you have connected the Nest Doorbell to the Chime, turn on the power and the doorbell will conduct an internal check to ensure it has an adequate power supply.
- Once ensured, you will see a blue colored status light appear on the doorbell. If the power supply is not sufficient, the color of the LED will be yellow.
- If you see yellow light on the LED, it means the doorbell does not have enough power to stream video.
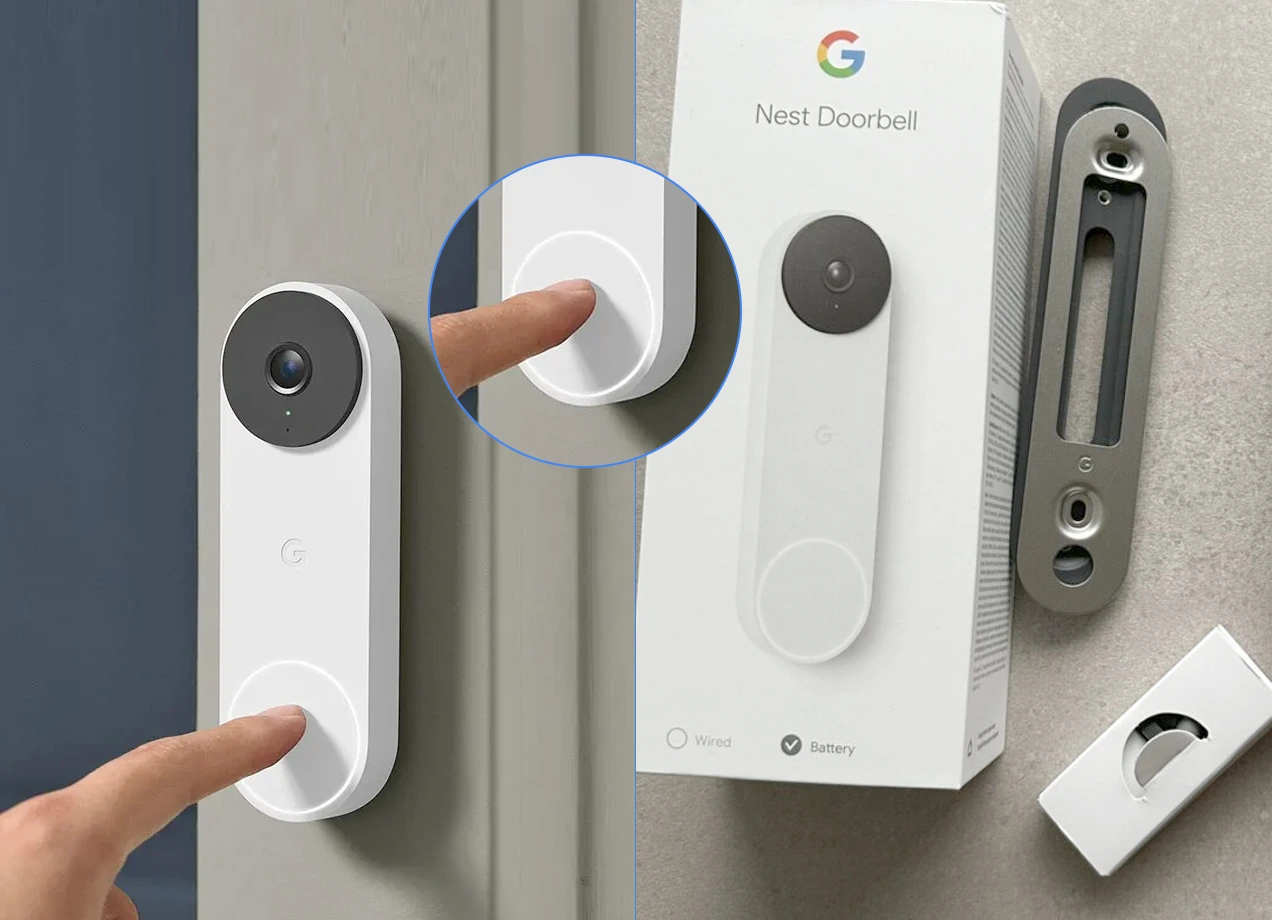
- When the power is sorted, you can unbox your Nest Doorbell. In the box, you will find everything you need to set up your Google Nest Ring Doorbell.
- Apart from what’s in the box, you may also need a pencil, a screwdriver, a drill and its accessories to safely mount the doorbell in its place.
Now, before you proceed with the next steps, make sure you have a functional Google account set up and the Google Home App installed on your device. If not, you can create a new account and download the app from the Google Play Store. If you are using an iOS device, you can also use the Apple App Store to download and install the app on your device.
Adding Your Nest Doorbell
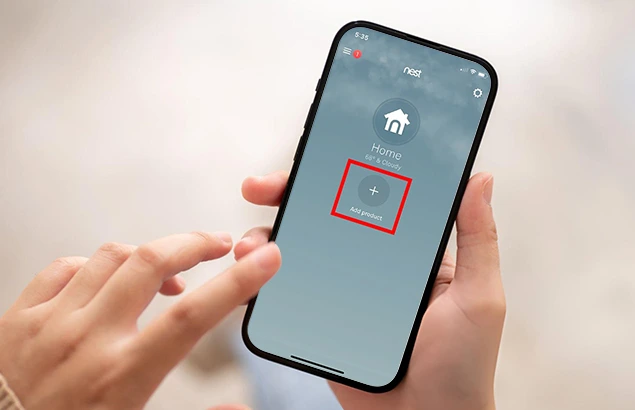
- Once installed, open the Nest Doorbell app and add the nest doorbell using the New Device option on the Set up a Device menu.
- The app will now ask you to scan the QR code on the back of the doorbell. If you don’t find the code on the back of the camera doorbell, you can locate it on the front side of the quick start guide.
- Once you scan the code, the app will guide you through the installation steps.
- If you have an existing chime, install the chime connector puck to ensure that the doorbell works properly. Without a chime connector puck, your Nest Doorbell could get damaged.
Connecting the Chime Connector Puck
- Before you install a chime connector puck, go to your home’s breaker box and turn off the power to your doorbell and chime. This will help protect you and your equipment.
- Remove the cover of the doorbell chime and remove the existing chime connector with the one that comes with your Nest Doorbell. The chime connector puck is required since it ensures that the doorbell works properly.
- In the Google nest doorbell setup app, specify how many wires are connected to your chime. While most chimes have two wires, some models may have three, four or more wires connecting to the terminals.
- Locate the wired terminals now and connect the Chime connector puck to the same terminals by loosening them a little. Once you have secured the puck wires, secure the other end of the chime puck inside the box, while ensuring it doesn’t touch any moving parts.
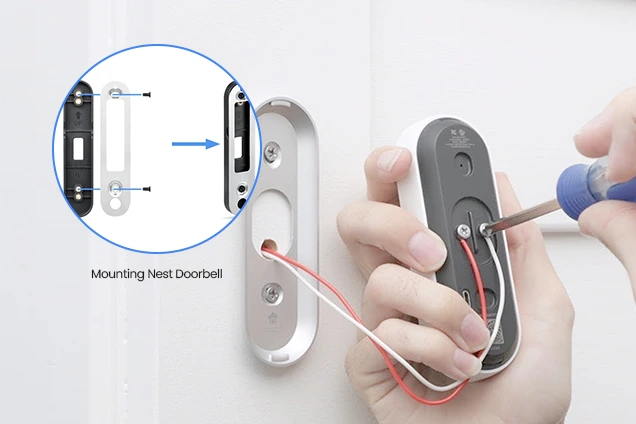
Installing Google Nest Doorbell
- You will also find a Google Nest Doorbell Mount in the box. This mount also known as the baseplate can be attached to the doorbell and then used to fix to the door.
- Secure the baseplate to the appropriate location you want the doorbell to be at on your main door. You can drill holes using a drill machine and use screws to fix and secure the baseplate to its place.
- Now, use the wire connectors on the rear of the doorbell to connect them to the main wire. Once done, secure the doorbell on the base plate. You can use the hex key to secure the doorbell on the baseplate.
- Once you have done the process, you can turn your power back on and you’ll see the color of the LED on the camera turn back to blue.
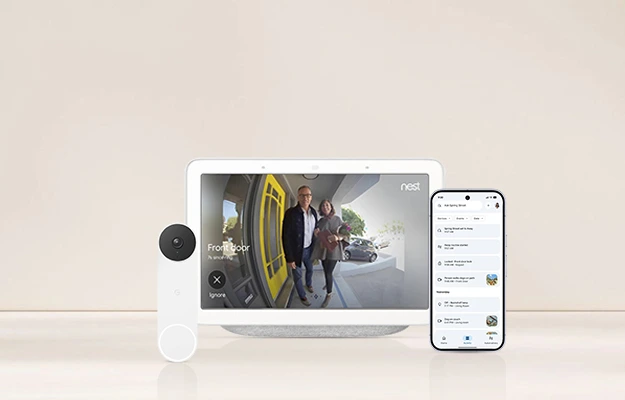
- Now, you can follow the steps on your Google Home app to finish the Google Nest Doorbell set up process. From the app interface only, specify the location where you have installed the doorbell and it will start showing you the live video.
- When the doorbell LED is green, it means it is recording the video. If the LED blinks in green, it means a home member is viewing the live video stream.
For Wireless Models
This section will provide information on how to set up and install the battery-powered model of the Doorbell.
- To start with the setup and installation process, ensure that you have the Google Home App installed on your phone and a Google account setup as well. If not, create an account and download the app from Google Play Store or Apple App Store.
- Once installed, open the app and follow the on-screen steps to complete the setup process.
Adding the Wireless Google Nest Doorbell
- Scan the QR code on the back of the doorbell to add it to the app.
- After you have added the doorbell to the app, plug it into an outlet using the USB cable that is provided in the box.
- As the next step, you’ll need to add the doorbell to the WiFi network of your home.
- From the app, specify where you have installed the doorbell or are going to install.
- Ensure that the phone with the app is also connected to the same WiFi network as your Google Nest Doorbell. Since the app will be used to set up the doorbell, it is important that they are on the same network.
- From the set up menu on the app, select the Battery option and choose a location that’s about 4 feet or 1.22 m above the ground. This is the recommended mounting height to see people and packages.
- Once you have connected the doorbell to the WiFi network, take it outside to see if the network is fine. All the while, make sure you are streaming the live video on your phone or the tablet. The light on your doorbell should be green in color.
- If the streaming is interrupted, you can try moving the doorbell a few inches so it stays connected to the internet.
Mounting your Nest Doorbell
- Once you have finalised the mounting location, fix the baseplate on the wall using the mounting screws.
- Attach the doorbell to the baseplate with the camera positioned on the top and the button at the bottom.
- While mounting the doorbell, ensure that you align the circle at the bottom of the doorbell to the hole at the bottom of the base plate.
- Once done, push the doorbell in and then down until you feel it click into place.
- You can now test the doorbell to ensure that it is mounted securely.
- Whenever you need to charge the battery, you can use the release tool by inserting it in the hole at the top. Ensure that you safekeep the release tool in a safe place.
- When the camera is recording or monitoring activity, the status light will be solid green. If the light turns blinking green, it means that a home member is watching live streaming of the video.

Finishing the Google Nest Doorbell Setup Process
- You can now follow the step in the Google Home app to finish setting up your Nest Doorbell.
- If needed, you can use Google Assistant enabled speakers to announce when someone is at the door.
- Finally, make sure you fully charge your doorbell before using it for about 5 hours consistently.
- If the status light blinks white while charging and turns solid white, it means it is fully charged.
- You can see your camera’s battery level in a number of places in the Google Home App.
Need Help with Google Nest Doorbell Installation?
Our experts are just a phone call away to help you get things up and running in no time. Get a consultation today!
FAQs
How to remove Google Nest Doorbell from the Google Home App?
To remove your Doorbell from the Google Home app, you can follow the simple steps:
- Open the Google Home App on your smartphone.
- Select the Nest Doorbell from the connected devices list.
- Tap on the Settings icon from the screen and choose the Remove device option you see on the screen.
- Confirm your choice by clicking on the Remove button again.
Following these steps will remove your Doorbell from the Google Home App.
How to charge Google Nest Doorbell?
If you are looking to charge your Nest doorbell, you’ll need to remove it from its mount. Once done, here are some steps you can follow:
- Connect the included USB-C type cable to the port you see on the back of the doorbell.
- Plug the other end of the cable to a compatible power adapter.
- When connected, you’ll see the status light of the device turn white and blink.
- Once the doorbell unit is fully charged, the light will turn solid white..
- You can now re-install Google Nest Doorbell to its baseplate and it will turn on automatically.
How to factory reset Google Nest Doorbell?

Wondering how to reset Google Nest doorbell, detach it from the mount/baseplate and locate the reset button on the back of the camera. Once located, follow this Google Nest Doorbell factory reset process:
- You can locate the button and press and hold it for about 10-15 seconds. In case of wired models, the reset button may be concealed inside a small hole. So, you’ll need to use a pin to press and hold the button for about 20 seconds.
- Once you hear the device beep and the light on the front panel change its color, let go of the hold and allow the device to restart.
- Once the light on the LED turns back to blue, you can set it up again using the information shared above.
How do I resolve Google Nest Doorbell Offline issues?
In order to resolve a Google Nest Doorbell offline issue, you’ll first need to restart the doorbell and the router as well.
Once that is done, you can check your home’s WiFi connection for issues and the power source as well.
Try checking the connectivity again and ensure the doorbell is connected to the internet. If the issue persists, you can update the Google Home App or try resetting the doorbell once. Please note that performing factory reset will erase all the event history and you’ll need to set up your doorbell again. Therefore, unless you are sure you don’t need help from an expert/professional, you can proceed with the Google Nest Doorbell reset process.
How to reboot Google Nest Doorbell?
Rebooting or restarting a Google Doorbell is easy. Here are some steps to follow:
- Locate the Restart button on the back of the device.
- Press and hold it for about 5 seconds or more.
- Release it after this time to let the device restart.
The reboot process may vary slightly based on what model of doorbell you are using. For the wireless battery-powered models, the button is under the USB-C port, while for the wired ones, it is often concealed inside a pinhole near the top.
What do I do if my Google Nest Doorbell is not ringing fine?
The Google Nest Doorbell not ringing issue is a common complaint that users often report. Fortunately, we have the fix for the same. Here are some steps you can follow as a resolution:
- Check for simple fixes like ensure that the visitor announcements are turned on.
- Secondly, also check if the WiFi is working fine. This is especially important, if you have an external speaker connected for announcements.
- Finally, check if the Google Home App and the Doorbell software are updated to the latest version.
- If you are using the wired model of the Doorbell, inspect the wired connections you have made to the chime and the doorbell.
- Also check the existing transformer. If it is not powerful enough, upgrade it from a 16V AC/10 VAmp to a 16V AC/30 VAmp model.
As a precautionary measure, when you are inspecting them, turn off the mains power from the breaker. You can also try restarting or factory resetting the doorbell if the issue persists.
How do I update the firmware on my Google Nest Doorbell?
Nest doorbells are configured to receive automatic firmware updates whenever they are connected to a stable internet connection. There is no manual firmware update option available, although you can always check what version your doorbell is on using the Google Home App.